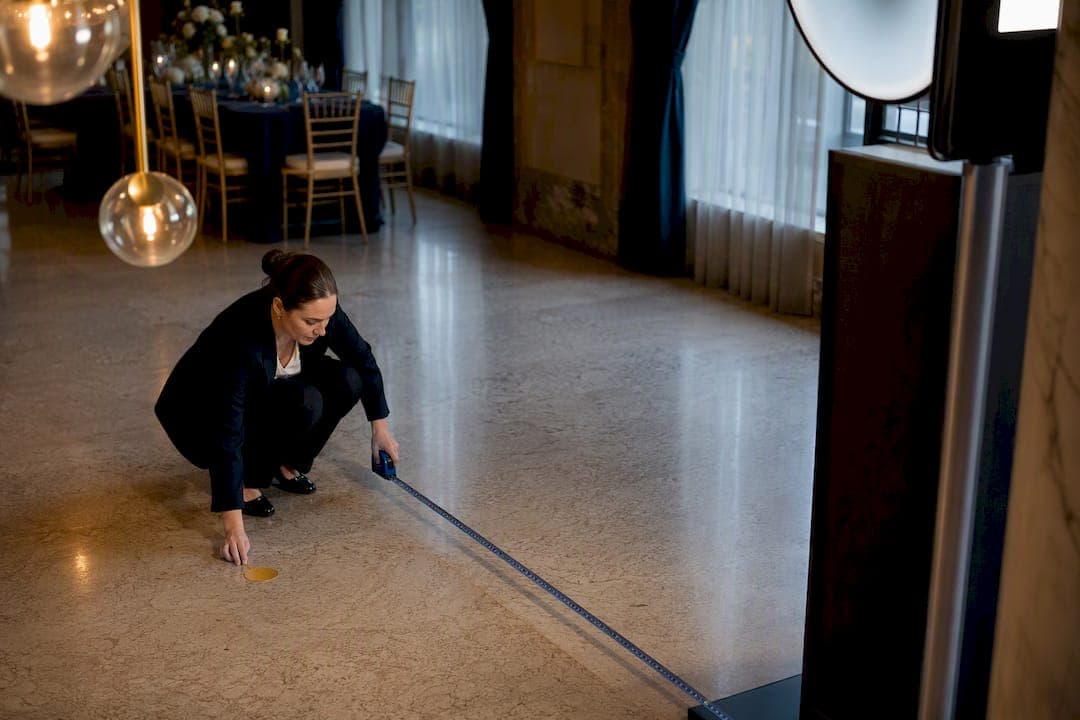
A standard enclosed booth needs a minimum footprint of about 6 feet by 9 feet with approximately 10 feet of ceiling clearance, while an ideal setup runs closer to 10 feet by 10 feet. Open-air units typically fit in areas ranging from 8 by 8 to 10 by 10 feet, mirror booths need a narrow footprint with some forward clearance, and 360 rigs require at least 10 by 10 feet plus room for the operator. Beyond the booth itself, it is recommended to reserve additional space for queueing, generally around 20 to 30 square feet, and expect power and safety requirements to increase the total space needed.
TL;DR:
- Enclosed booths require a minimum of 6 by 9 feet, with 10 by 10 feet being ideal, and need at least 10 feet of ceiling height for proper operation.
- Outdoor booths need additional weatherproofing and a power plan, including weatherproof cords and possibly a generator, while indoor setups should prioritize ceiling height and heat management.
- Proper placement involves positioning the booth near high-traffic, visible areas without blocking exits, with a dedicated queue space of 20 to 30 square feet kept separate from the photo area.
- Power safety requires a dedicated, permanently installed outlet with confirmed circuit capacity, avoiding daisy-chained power strips to prevent fire hazards and delays.
- Additional staging, props, and operator space should be planned with roughly 3 by 3 feet zones, and accessibility features include step-free approach paths and equipment adjustments for wheelchair users.
Table of Contents
- 1. Photo booth types and their recommended space footprints
- 2. Where you place the booth changes how it performs
- 3. Power, lighting, and electrical code considerations you can't skip
- 4. Props, operators, and equipment staging need their own footprint
- 5. Accessibility and ADA considerations for photo booth placement
- 6. Indoor vs outdoor setup: what actually changes
- 7. Day-of setup checklist and timeline
- 8. Noise level and sound management around the photo booth area
- 9. Storage space for photo booth equipment and supplies
- 10. Safety and security measures in the photo booth area
- 11. Integration with event flow and placement relative to other event zones
- 12. Layout, placement, and guest flow in practice
- Lessons from hosting booths in a working banquet hall
- How the Ambassador Club can support your photo booth setup
- Sources
- FAQ
1. Photo booth types and their recommended space footprints
Booth design dictates footprint more than anything else, so matching the unit to the room comes first. Enclosed or "passenger" booths, the classic curtained style, need a minimum of 6 feet by 9 feet, but 10 feet by 10 feet gives guests room to move without brushing the walls. Ceiling height matters here too: most enclosed units need at least 10 feet of clearance for the internal camera rig and any top-mounted lighting.
Open-air and kiosk booths trade the enclosure for a backdrop and open floor space, typically 8 by 8 to 10 by 10 feet, with extra lateral clearance if you expect groups of six or more posing together. Mirror booths and photo kiosks have a narrower physical footprint since the unit itself is slim, but they demand 6 to 8 feet of forward clearance so guests can step back and interact with the screen. Roving 360 rigs need the most planning: a 10 by 10 foot minimum plus a safety buffer around the platform for the operator and the spinning camera arm.
- Enclosed booths: 6 by 9 feet minimum, 10 by 10 feet ideal, 10 feet of ceiling height.
- Open-air and kiosk booths: 8 by 8 to 10 by 10 feet with lateral clearance for groups.
- Mirror booths: narrow footprint, 6 to 8 feet of forward clearance.
- 360 rigs: 10 by 10 feet minimum, plus an operator safety buffer.
2. Where you place the booth changes how it performs
Visibility drives usage, but visibility without a plan for foot traffic creates a bottleneck. The booth should sit near high-traffic areas, close to the bar or the dance floor, without sitting directly in the path guests take to reach the exits, restrooms, or buffet.
- Position the booth where it has a sightline to the dance floor or stage, so it feels connected to the event rather than tucked into a corner.
- Reserve a dedicated queue zone of 20 to 30 square feet separate from the booth's photo area, using stanchions or simple floor signage to define it.
- Angle the backdrop away from windows, stage lighting, or overhead fixtures that could cause backlighting or harsh shadows in photos.
- Leave a walking lane of at least 3 feet between the queue and any adjacent activity station so the line never blocks circulation.
Getting this right often comes down to basic floor math. A venue size guide can help you work out how much total square footage a hall needs once you add the booth, queue, and walking lanes together.
3. Power, lighting, and electrical code considerations you can't skip
Booth setups draw more power than most planners expect once you count lighting, a printer, and a laptop or tablet all running at once. The safest approach is a dedicated, permanently installed receptacle rather than a chain of extension cords or power strips linked together.
NFPA guidance is direct on this point: relocatable power taps, the everyday power strip, must be listed to UL 1363 or UL 1363A, and each one should plug directly into a permanent receptacle rather than into another power strip. Daisy-chaining is a recurring fire-code violation that authorities having jurisdiction can flag on site, and the same guidance notes that the AHJ can restrict other temporary equipment, like space heaters, when it poses an undue risk.
Electrical failures are one of the most common causes of last-minute booth delays, and confirming permanent receptacles ahead of time prevents most of them.
- Confirm outlet locations and circuit capacity with the venue's facilities manager before booking day.
- Keep lighting fixtures at least a few feet from the backdrop fabric to avoid overheating and washed-out shadows.
- Never plug a power strip into another power strip. Each one connects to a wall receptacle.
- Ask the venue whether the AHJ has any restrictions on temporary electrical equipment for your event date.
4. Props, operators, and equipment staging need their own footprint
A props table needs roughly 3 by 2 to 4 by 2 feet, placed near the booth but off to the side so it never crowds the actual photo area. The operator or attendant needs a clear 3 by 3 foot zone with a sightline to the group, quick access to the printer, and enough room to step back during a large group shot.
- Props table: 3 by 2 to 4 by 2 feet, positioned adjacent to, not inside, the shooting area.
- Operator station: 3 by 3 feet clear, close to the power source and print station.
- Step-back space: leave a few extra feet behind the camera line for group shots.
Pro Tip: Put the props table on the same side as the queue entrance so guests grab items on their way in, not on their way out.
5. Accessibility and ADA considerations for photo booth placement
Wheelchair users need a clear approach space of at least 30 inches by 48 inches in front of the booth or kiosk, with a step-free path leading to it. Skip thick rugs, cable covers with raised edges, or any threshold that could catch a wheel or a cane, and use a ramp wherever the floor level changes.
Simple adjustments help too: set the backdrop height and camera angle to work for seated guests, and make sure the attendant can lower the screen or adjust framing without asking someone to stand.

6. Indoor vs outdoor setup: what actually changes
Outdoor booths need a tent or cover, secure mounts against wind, and a power plan that doesn't rely on running an extension cord across a lawn. A generator, if used, needs to sit clear of walkways and away from any exhaust hazard, and outdoor-rated cords and weatherproof housings are worth the extra cost.
Indoors, the concerns shift to ceiling height, heat buildup from lighting in an enclosed space, and protecting the floor from cable runs and equipment feet. Many venues also have their own policies on outdoor rigs, tents, or generators, and some jurisdictions require permits for large temporary structures, so confirm both with the venue and the local authority before finalizing a rig.

7. Day-of setup checklist and timeline
Complex rigs like 360 platforms or full enclosed booths typically need 90 to 120 minutes of load-in and testing, while a kiosk or open-air setup can go from truck to ready in 45 to 60 minutes. Build the schedule backward from doors-open time and give the vendor a firm arrival window.
- Vendor arrives and confirms the assigned power outlet with the venue's facilities contact.
- Booth is assembled, backdrop hung, and lighting adjusted for the room's ambient light.
- Test shot and test print run to confirm color, framing, and printer function.
- Queue markers and signage go up, followed by a final safety sweep of cables and clearances.
- Planner's on-site contact signs off before the booth opens to guests.
Assign clear roles ahead of time: a vendor lead who runs the equipment, a venue facilities contact who owns the power and space questions, and a planner on-site contact who gives the final go-ahead.
8. Noise level and sound management around the photo booth area
Photo booths themselves are quiet, but the area around them rarely is. Guests laughing, group instructions from an attendant, and a nearby speaker stack or DJ setup can combine into a noise pocket that makes it hard for people to hear directions or hear each other during the shot.
Keep the booth a reasonable distance from the main speaker system so guests aren't shouting over the music to hear the countdown. If the venue has a stage or DJ booth, angle the photo booth's backdrop away from the direct line of the speakers rather than facing into them. This also helps with photo quality, since a booth positioned in a quieter pocket of the room tends to produce calmer, better-composed shots because guests aren't rushing.
If the booth includes a printer, factor in the mechanical noise it makes with each print cycle. It's minor, but in a quiet corner of a smaller room it can be noticeable, so placing the props table and queue a few feet back from the printer keeps that sound from becoming a distraction. Attendants running a 360 rig or an open-air unit with a built-in speaker for instructions should keep the volume low enough that it doesn't compete with the main event sound system, since two competing audio sources near each other create confusion rather than energy.
9. Storage space for photo booth equipment and supplies
Every booth setup comes with more gear than what's visible on the floor: spare props, extra paper and ink for the printer, backup lighting bulbs, cables, and a case or two for breakdown at the end of the night. Plan for a small dedicated storage spot, even a folding table or a corner behind a pipe-and-drape wall, within easy reach of the booth itself.
This matters most for props. A well-stocked props table looks appealing when it's tidy, but the overflow, spare hats, extra signs, backup boas, needs somewhere to live that isn't the middle of the queue line. A bin or two tucked near the operator station keeps the visible table looking fresh throughout the night as items get swapped in and out.
For enclosed and 360 rigs, factor in a small footprint for cases and dollies during load-in and load-out, since these often need to sit somewhere temporarily before and after the event rather than blocking a hallway. Confirming a storage spot with the venue ahead of time, even if it's just a service corridor or a coat closet, saves the vendor from scrambling during breakdown when guests are also trying to leave.
10. Safety and security measures in the photo booth area
Beyond the electrical guidance already covered, a few basic safety habits keep the booth area running smoothly all night. Tape down any exposed cable runs, especially where the queue line crosses a walkway, and keep the lighting stands weighted or sandbagged so they can't tip if bumped by a passing guest.
For events serving alcohol, the photo booth area tends to get busier as the night goes on, and a slightly wider queue buffer helps prevent congestion from becoming a bottleneck near the bar or dance floor. If the venue provides security staff, it's worth having them do a periodic pass by the booth area, the same way they would near the bar, since crowded corners with cables and equipment carry more slip and trip risk than open floor space.
Equipment security matters too, particularly for expensive camera rigs or tablets left unattended during breaks. A booth attendant should stay with the equipment or have a clear plan for securing it during any gap in coverage, and cases or bags with spare gear are best kept out of sight rather than stacked in guest view where they invite tampering or theft.
11. Integration with event flow and placement relative to other event zones
The photo booth doesn't operate in isolation. It competes for attention with the bar, the buffet, the dance floor, and whatever entertainment is running, so its placement should work with those zones rather than against them.
A booth placed too close to the food service line creates a collision point where two queues merge into one frustrating scrum. A cocktail hour layout guide is a useful reference for spacing high tops and stations so the booth queue doesn't spill into the drink line. Placing the booth within sight of the dance floor, but outside its physical footprint, tends to work best: guests can see the activity and drift over between songs without the queue blocking dancers.
Timing also matters. Booths tend to see the heaviest use right after dinner and during the first hour of dancing, so if the room's layout puts the booth near the entrance instead, expect a slower start and a rush later. Coordinating booth placement with the caterer and the entertainment vendor ahead of time, rather than each planning around a floor plan set in isolation, avoids most of these conflicts on the day itself.
12. Layout, placement, and guest flow in practice
Placement decisions get easier once you've walked the room with the full floor plan in hand rather than guessing at distances. A family event venue guide offers useful examples of fitting an activity station into a floor plan without crowding the main event zones, a similar exercise to placing a photo booth.
If the event includes screens or projection near the booth area, checking viewing distance guidance helps confirm the screen and booth don't end up competing for the same sightline. And a catering partner's take on designing attractive event spaces is a useful cross-check when the booth sits near food or bar service, since the same crowd-flow logic that governs buffet lines applies to booth queues.
Lessons from hosting booths in a working banquet hall
The best booth placements we've seen keep the queue visible from the dance floor but never crossing it. Coordinating power needs with our facilities team before load-in, not during it, is what keeps setup on schedule. Planners looking for layout help are welcome to ask.
— MARTIN
How the Ambassador Club can support your photo booth setup
Fitting a photo booth, its queue, and a props table into an event floor plan is easier in a room built for flexibility. The Ambassador Club's 6,000 square foot hall gives planners the square footage to place a booth near the action without crowding the dance floor, bar, or buffet.
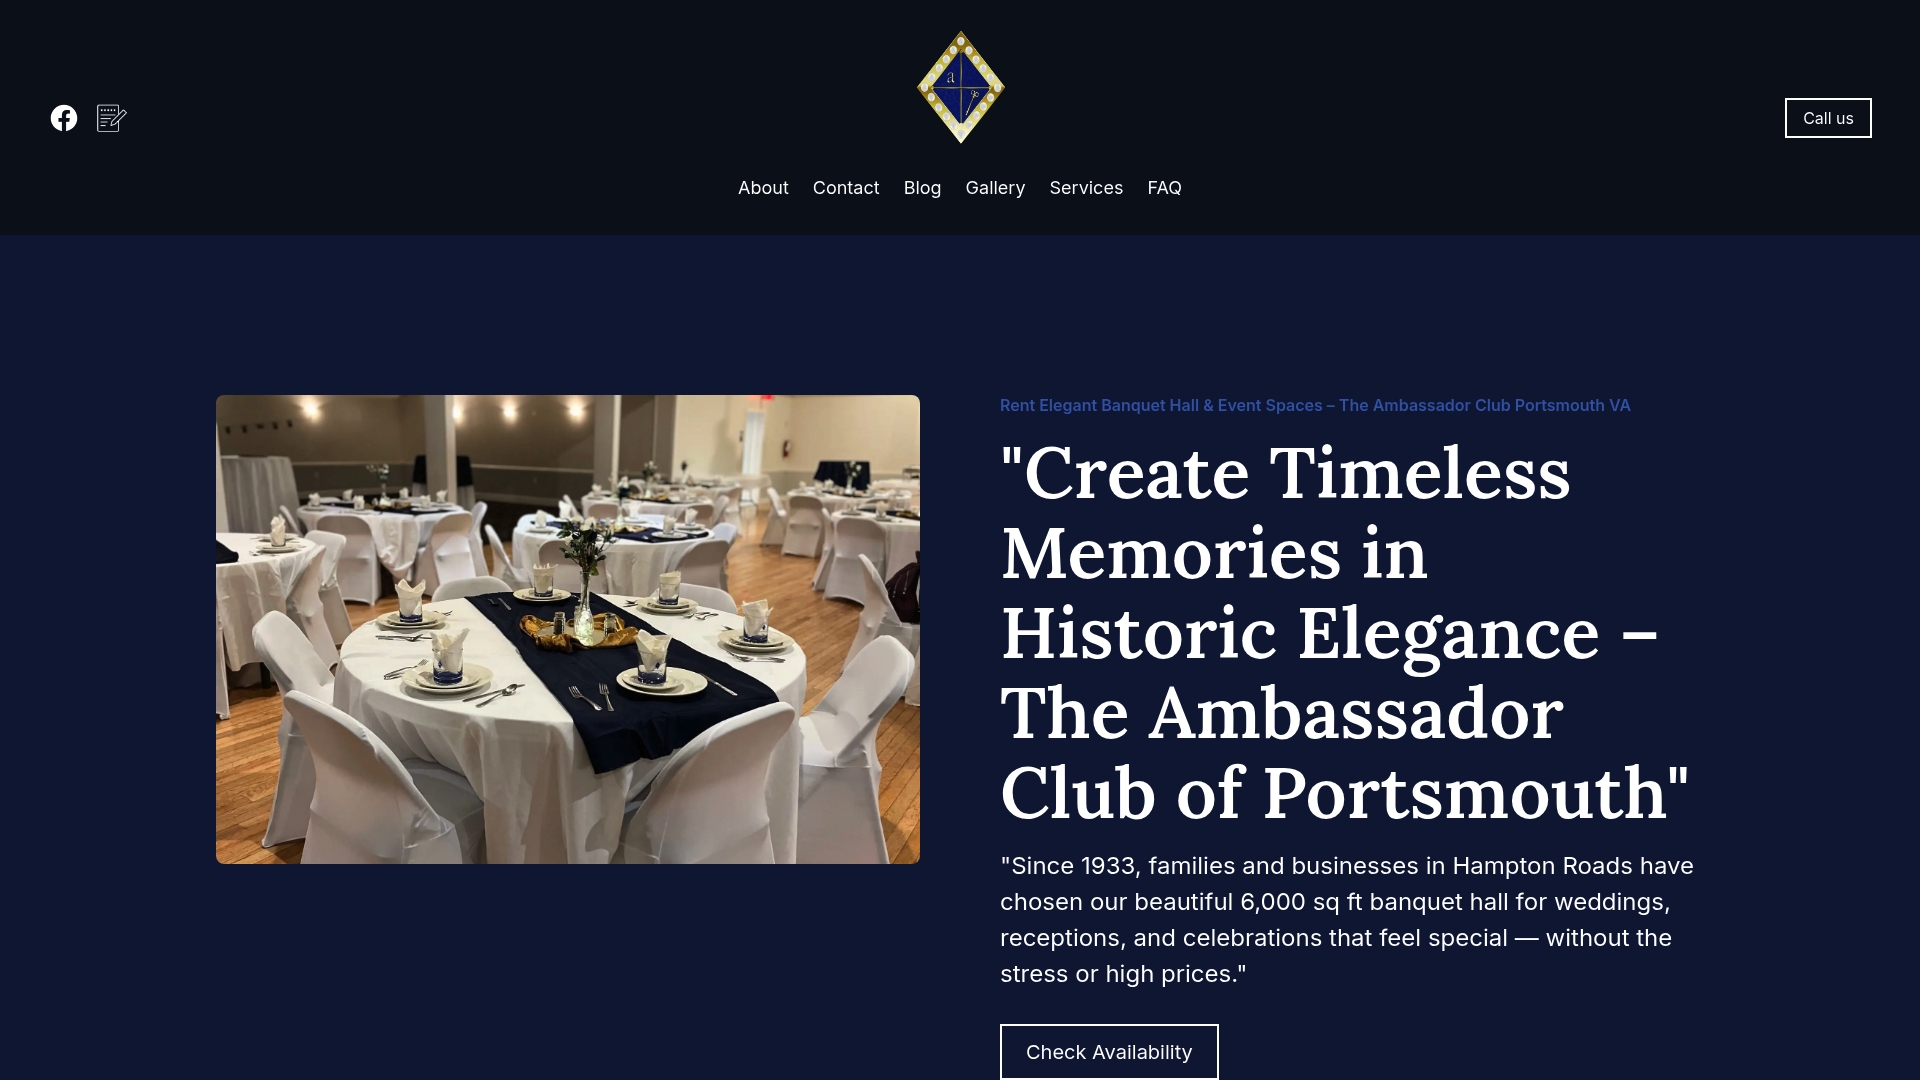
- A large event hall with room to plan booth, queue, and staging separately.
- Catering options that pair well with a photo booth near the dining area.
- Capacity to accommodate a considerable number of guests, giving larger events room to spread activity stations out.
- Setup assistance and coordination with a facilities team for vendor power and load-in needs.
Browse our event packages or start with the booking page to check availability and request a layout consultation for your date.
FAQ
Is owning a photo booth business profitable?
Profitability depends heavily on booking volume, equipment costs, and local demand, and no single figure applies across markets. Planners considering the business side should treat it as a standard small equipment rental venture with variable overhead rather than a guaranteed income stream.
How much does a photo booth typically cost to rent?
Photo booth rental pricing varies widely by booth type, region, and hours booked, and no universal rate applies across the industry. Planners should request quotes directly from local vendors for their specific event date and booth style.
Do you need a permit or license for a photo booth?
Permit requirements depend on the venue, the local jurisdiction, and whether the setup involves outdoor tenting, generators, or large rigs. Always confirm with the venue and the local authority having jurisdiction before finalizing an outdoor or complex booth setup.
How much space does a photo booth actually need?
A standard enclosed booth needs a 6 by 9 foot minimum with 10 feet of ceiling clearance, while open-air units fit in 8 by 8 to 10 by 10 feet. Add another 20 to 30 square feet nearby for the guest queue, separate from the booth's own footprint.
What's the difference between an open-air and an enclosed photo booth?
An enclosed booth uses a curtained frame with an internal camera, requiring a compact but tall footprint of roughly 6 by 9 by 10 feet. An open-air booth uses a freestanding backdrop and camera setup, needing a wider 8 by 8 to 10 by 10 foot area to accommodate larger groups posing together.