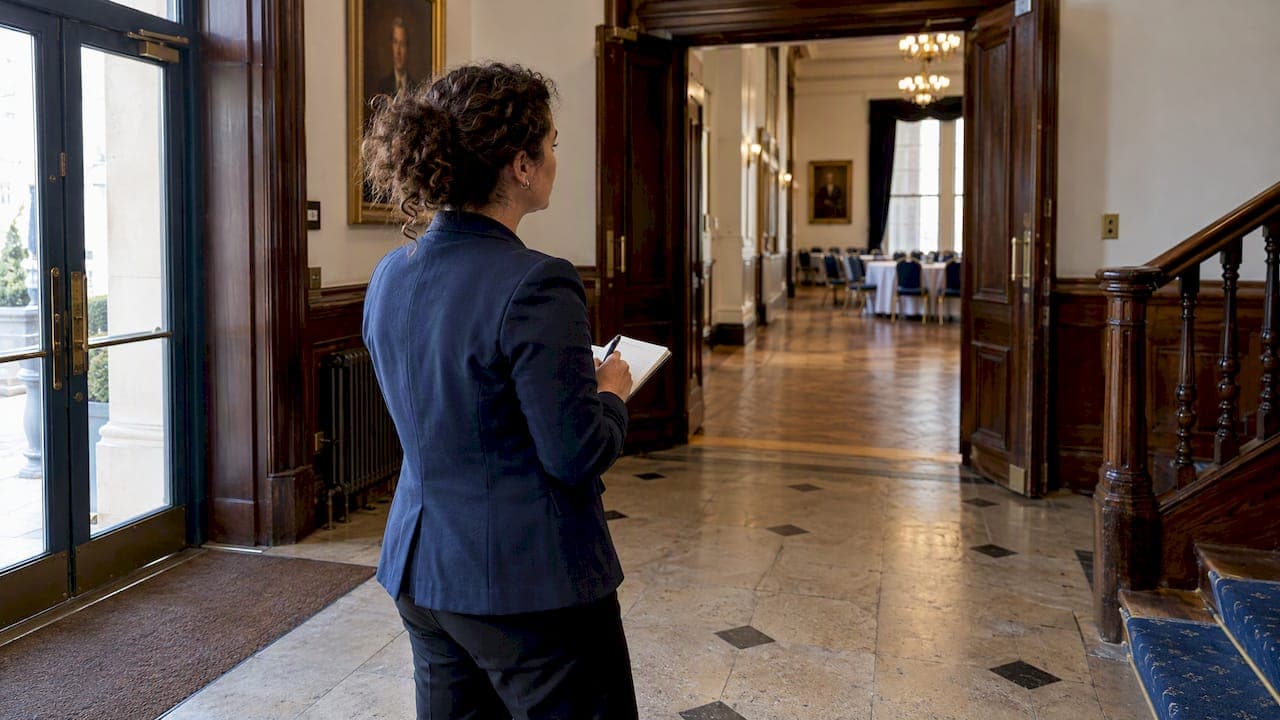
Bring a tape measure, a printed floor plan, and your lead vendors to every venue walkthrough, and verify four things in person: usable capacity, power and AV infrastructure, load-in logistics, and guest accessibility. Schedule one visit before you sign the contract and a second one closer to the event to confirm final logistics. The client, the venue contact, and whoever runs production should all be in the room.
TL;DR:
- A venue's advertised maximum can shrink once stages, dance floors, or booths are added, so measure dimensions, aisle widths, and sightlines against your planned layout.
- Accessible routes should connect parking or drop-off areas to event spaces without steps, and doorways need at least 32 inches of clear passage.
- A kitchen without an exhaust hood may prohibit frying or grilling; confirm cooking limits and equipment before approving the caterer's menu.
- Walk the entire route from the loading dock to the farthest service point, checking door widths, turns, stairs, and elevator limits; confirm parking windows and fees.
- Put setup access, teardown deadlines, overtime rates, and venue exceptions in writing, then distribute updated diagrams and the BEO to vendor leads within 48 hours.
Table of Contents
- Capacity, layout, and sightlines: exact measurements and what to test
- Guest experience and accessibility: arrival, parking, and restroom access
- Restrooms, cleaning policy, and waste handling
- Load-in, load-out, parking, and vendor logistics
- Food service and kitchen verification: prep-only vs full production
- Power, AV, internet, rigging, and technical infrastructure
- Staffing, vendor rules, insurance, and responsibilities
- Décor, signage, floor protection, and practical aesthetics checks
- Venue operations, fees, timing, and contractual red flags
- Final checklist: what to bring and how to turn notes into a BEO
- Host-side notes: what a venue records during a walkthrough
- Three quick wins for your next walkthrough
- Schedule a hosted walkthrough at The Ambassador Club
- FAQ
- Sources
- Templates and guides to download
Capacity, layout, and sightlines: exact measurements and what to test
A brochure capacity number rarely matches what works for your event format. A room that is advertised for a large number of guests might hold far fewer once you add a dance floor, a stage, or trade-show booths, so confirm usable capacity for your exact layout, not the venue's general maximum.
Walk the room and measure what matters:
- Door widths, ceiling heights, and stage or dance floor dimensions with a tape measure rather than trusting the floor plan.
- Service aisle widths between tables, since catering staff need clear paths during the event.
- Sightlines from the back corners and sides, checking whether columns, decor, or AV screens block the view.
- An on-site diagram marking immovable elements like columns, outlets, and fixed bars.
Production teams that run site visits consistently find diagrams unreliable until someone measures the actual space.
Pro Tip: Photograph every sightline from where guests will actually sit, not just from the center of the room.

Guest experience and accessibility: arrival, parking, and restroom access
Guests need a clear, step-free path from parking or drop-off into the event space, and that path has to work for people using wheelchairs or mobility aids. Accessible routes should be unobstructed and firm underfoot, with doors offering at least 32 inches of clear passage and ramps or elevators available wherever the event spans more than one level.
Check these items during the walkthrough:
- Step-free routes from parking and drop-off points, including ramp grades and elevator access.
- Restroom fixture counts, accessible stall availability, and general cleanliness standards.
- Arrival flow: where guests enter, where coats go, and what signage or wayfinding is needed.
- Climate control settings and any ambient noise from adjacent spaces or mechanical systems.
Our own accessibility checklist covers these same arrival and wayfinding points in more detail for planners working through a similar list.
Restrooms, cleaning policy, and waste handling
Count restroom fixtures against your expected guest count and decide early whether you need portable units for a shortfall. Ask who handles cleaning during and after the event, and whether janitorial service is built into the venue's fees or billed separately.
- Confirm fixture counts and compare them against your guest list size.
- Ask whether cleaning happens during the event, after it, or both, and who is responsible.
- Clarify trash and recycling rules, including who removes waste and what triggers an extra charge.
- Find out whether late teardown or excessive mess carries a penalty beyond the standard cleaning fee.
Load-in, load-out, parking, and vendor logistics
Vendor access problems cause more day-of delays than almost anything else, so this is where the walkthrough earns its time. Start at the loading dock and work your way in.
- Locate the loading dock or nearest vehicle access point and measure clearances and door widths along the entire route.
- Walk the full path from the truck to the farthest service point, noting stairs, thresholds, and tight turns.
- Confirm freight elevator dimensions and weight limits if the space is above ground level.
- Ask whether vehicles can park near the entrance during load-in and load-out windows.
- Find out if the dock is shared with other tenants or events, and whether overstaying a loading slot carries a fee.
A thorough site visit means walking this path yourself rather than relying on a verbal description, since labor and timing estimates for the event depend directly on what that walk reveals. If guests need coordinated drop-off or shuttle service, our transportation logistics guide covers staging and ADA-compliant pickup planning.
Pro Tip: Time the walk from the truck to the farthest table and use that number to set your crew's call time.
Food service and kitchen verification: prep-only vs full production
The single most consequential walkthrough question for catering is whether the kitchen is built for cooking or only for holding food. Venue kitchen specs typically list equipment like walk-in coolers, reach-in refrigerators, ice machines, warming cabinets, and three-compartment sinks, and they often flag restricted cooking methods when no exhaust hood is installed.
- Inventory the kitchen's equipment against your caterer's actual needs, not a generic list.
- Ask whether the space allows on-site cooking, what ventilation exists, and whether local permits apply.
- Clarify kitchen booking fees, cleaning expectations, and whether outside caterers are permitted at all.
- If the kitchen is prep-only, plan for a refrigerated truck or portable induction equipment rather than assuming on-site cooking is possible.
A prep-only kitchen often lacks the hood, grease trap, and fire suppression needed for frying or grilling, which can quietly limit your entire menu if you don't catch it during the walkthrough. Our commercial kitchen checklist walks through this distinction in more detail for planners vetting a venue kitchen.
Power, AV, internet, rigging, and technical infrastructure
Electrical and AV problems rarely show up until the room is full and every system is running at once, so testing infrastructure ahead of time matters more than most planners expect.
- Map circuits and test outlets, asking which loads share a breaker before placing catering equipment and AV gear on the same line.
- Confirm rigging points, ceiling grid limits, and maximum load capacities if you're hanging lights or scenery.
- Test the Wi-Fi connection and ask whether wired Ethernet or dedicated bandwidth is available for registration systems or streaming.
- Inventory the in-house AV equipment and confirm whether a technician is included or needs to be hired separately.
A walkthrough is the moment to verify outlet and circuit capacity directly rather than trusting a proposal, since diagrams alone often miss what's actually wired into the room. Our AV signal-flow checklist covers the handoff process between venue and vendor tech teams in more depth.
Pro Tip: Plug in a phone charger at every outlet you plan to use and note which ones actually work.
Staffing, vendor rules, insurance, and responsibilities
Vendor disputes usually trace back to something nobody wrote down, so use the walkthrough to pin down who does what. Ask which roles the venue provides, such as an event supervisor or security staff, and what time vendors must finish load-out.
- Document venue-provided staff roles and exact vendor cut-off times for breakdown.
- Ask what insurance or certificate-of-insurance limits the venue requires and whether vendors need pre-approval.
- Clarify restrictions on open flame, candles, or propane, and note any exclusive-vendor clauses.
- Record who handles lost-and-found, post-event inspection, and damage claims.
Décor, signage, floor protection, and practical aesthetics checks
Decor plans that look fine on paper sometimes run into venue rules you only discover by asking. Check what hanging hardware and adhesives are allowed, and whether heavy decor items require floor protection.
- Confirm whether the venue permits nails, tape, or adhesive hooks for hanging decor and signage.
- Measure doorway widths and ceiling clearances before ordering arches or large backdrops.
- Ask about rules for outdoor signage placement, including size and location limits.
- Note any flooring or surface sensitivities that could trigger a damage fee.
Venue operations, fees, timing, and contractual red flags
Everything you find on the walkthrough should end up reflected in the contract, not just in your notes. Confirm exact setup and teardown access times, the overtime rate structure, and whether another event booked the same day could affect staffing or space availability.
- Get a written list of possible extra charges, including cleaning, security, kitchen rental, and trash removal.
- Ask for the deposit conditions and what circumstances trigger a refund or forfeiture.
- Request written confirmation of any exceptions the venue agreed to during the walkthrough.
- Watch for vague service scope, undefined overtime enforcement, or fee clauses the venue can change unilaterally.
A full inspection generally touches four core areas: space and capacity, technical infrastructure, logistics and access, and guest experience, and gaps in any one of them tend to surface as disputes later.
Final checklist: what to bring and how to turn notes into a BEO
Pack light but pack right, and leave the walkthrough with documents your vendors can actually use.
- Bring a tape measure, your phone camera, a printed floor plan, a pen, and your written checklist.
- Invite your lead vendors or production contact so decisions get made on-site instead of over email later.
- Photograph loading paths, outlet and breaker labels, kitchen equipment, restroom counts, and door widths.
- Update the BEO and site diagram within 48 hours and send it to every vendor lead and the venue contact.
- Save a venue file with contact details, quirks, and measurements for any future booking at the same space.
Host-side notes: what a venue records during a walkthrough
From the host side, a well-run walkthrough leaves a paper trail both sides can rely on. A typical venue record includes kitchen inventory, the assigned event supervisor, the cleaning standard expected at teardown, and the deposit and fee structure.
- Hosts update their own BEO and enforce vendor rules to protect the space between bookings.
- Clear labeling, scheduled pickups, and early vendor communication speed up approvals and reduce last-minute fees.
- Any deviation from standard policy, like an extended load-in window, should come back to you in writing.
Three quick wins for your next walkthrough
Bring vendor leads with you and lock decisions on-site instead of letting them drift into a string of follow-up emails. Measure and photograph everything that affects logistics, because diagrams lie and memory lies faster. Convert your findings into timeline and staffing notes within 48 hours, while the details are still fresh enough to be useful.
— MARTIN
Schedule a hosted walkthrough at The Ambassador Club
If you'd rather see these details answered in person than chase them down one email at a time, you can visit a venue with a spacious hall, a commercial kitchen, a flexible catering setup, and a room layout for groups up to 200 guests to verify everything yourself.
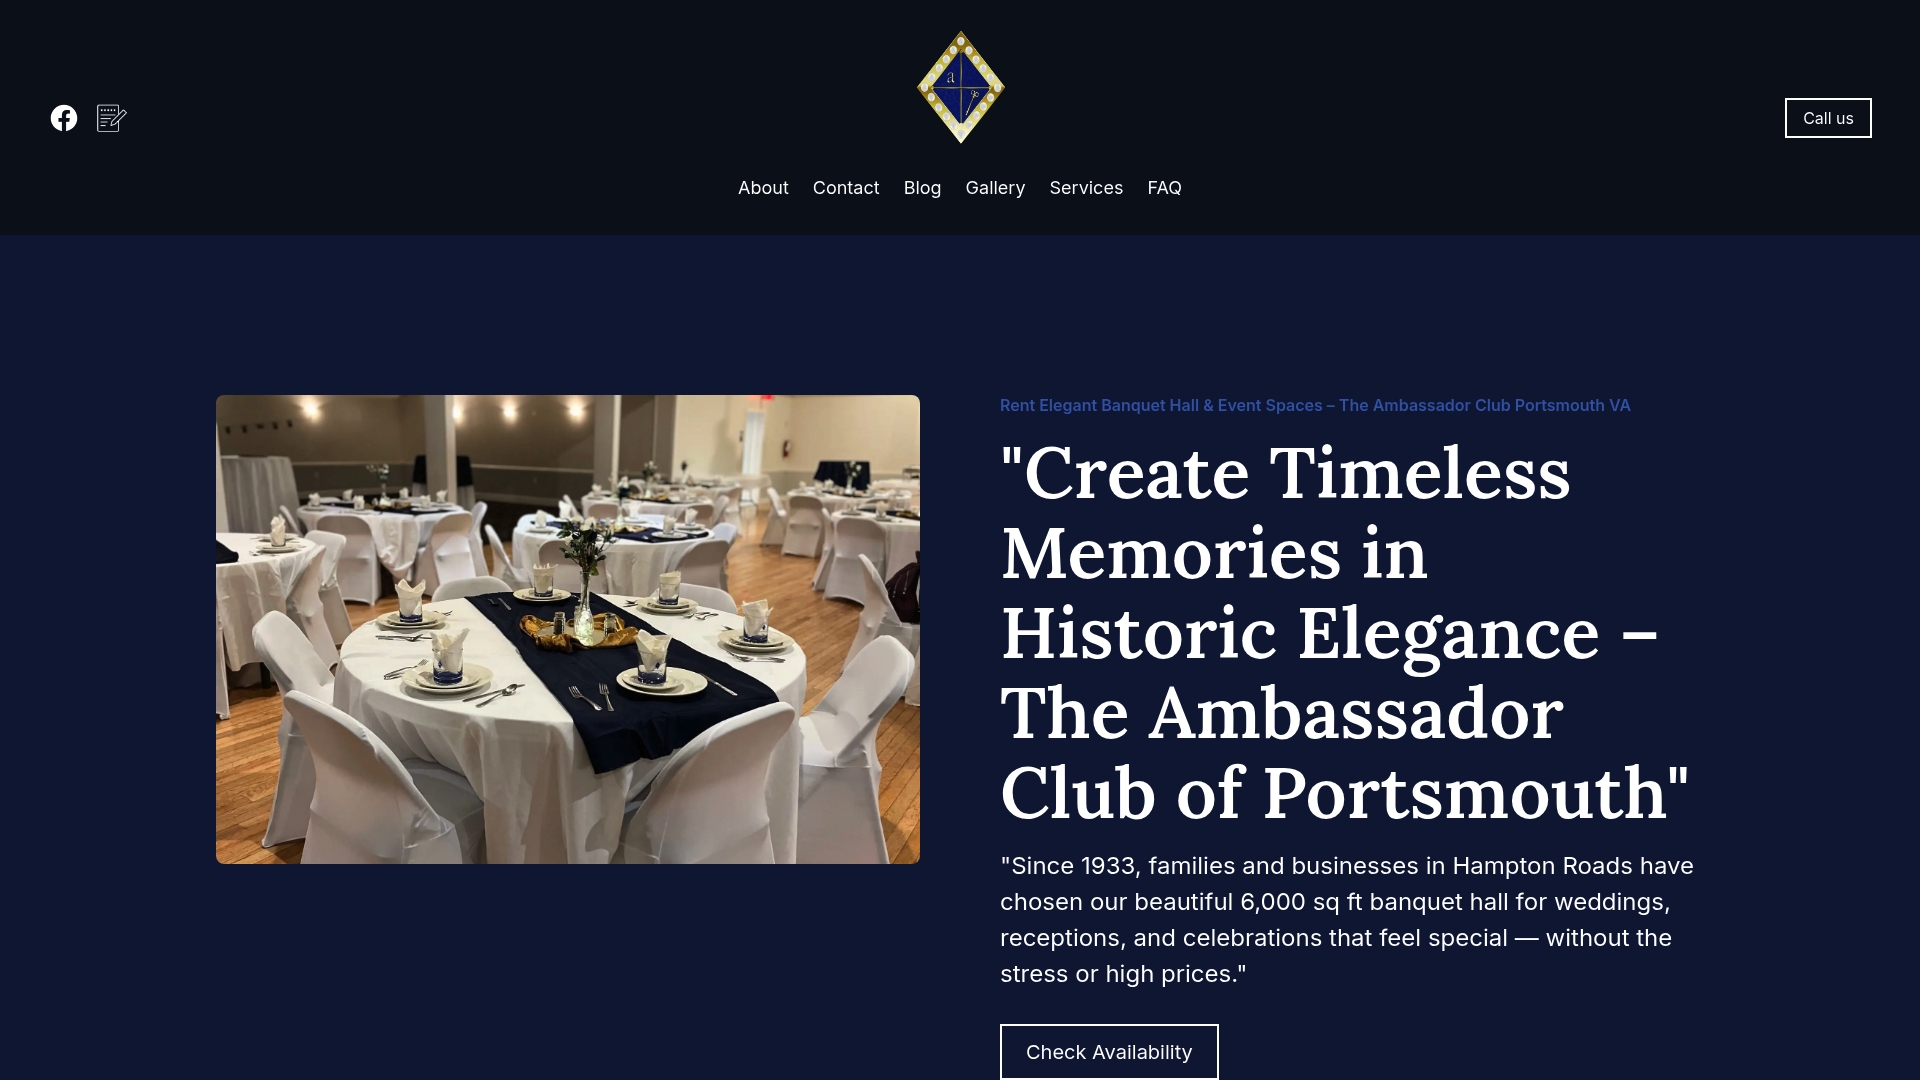
Ask us for a sample BEO and kitchen equipment inventory before your visit so you walk in already knowing what to check. You can schedule a tour or request details directly, or browse our full list of event packages first if you're still comparing venue types.
FAQ
What are the 5 C's of an event?
Different planners define the 5 C's slightly differently, but a common version covers concept, coordination, control, culmination, and closeout, the stages that move an event from idea to wrap-up. These stages roughly map onto a walkthrough: early visits support concept and coordination, while a final walkthrough supports control just before culmination.
What should I include on my wedding venue walkthrough checklist?
Your checklist should cover usable capacity for your guest count and layout, accessible routes and restroom counts, kitchen type and catering rules, and power and AV capacity for your vendors. Add load-in logistics and a clear list of fees so nothing is left to a verbal promise.
What is the 50/20/30 rule for weddings?
This is a budgeting guideline some planners use to split wedding spending across categories like venue and catering, attire and photography, and smaller details, though exact percentages vary by source. It's a starting framework rather than a fixed rule, so treat it as a planning aid rather than a standard every venue or planner follows.
What questions should I ask at my final venue walkthrough?
Ask about exact setup and teardown times, overtime rates, and whether another event is booked the same day. Confirm kitchen equipment and catering rules, loading dock access and parking, restroom counts, and get written confirmation of any special arrangements made during the visit.
Sources
- The Ultimate Event Site Visit Guide + Free Site Visit Checklist — Advanced Staging
- Kitchen specs and expectations for users and vendors — Helena Civic Center
Templates and guides to download
A few outside resources are worth keeping on hand when you verify accessibility or kitchen details on your own. The Seattle accessible venue checklist and the USC site accessibility checklist both offer reproducible, in-person assessment steps for parking, path width, and restroom distribution. For a structured, phase-based planning process beyond the walkthrough itself, a corporate event checklist from Jubiliq breaks the work into project phases planners can adapt.