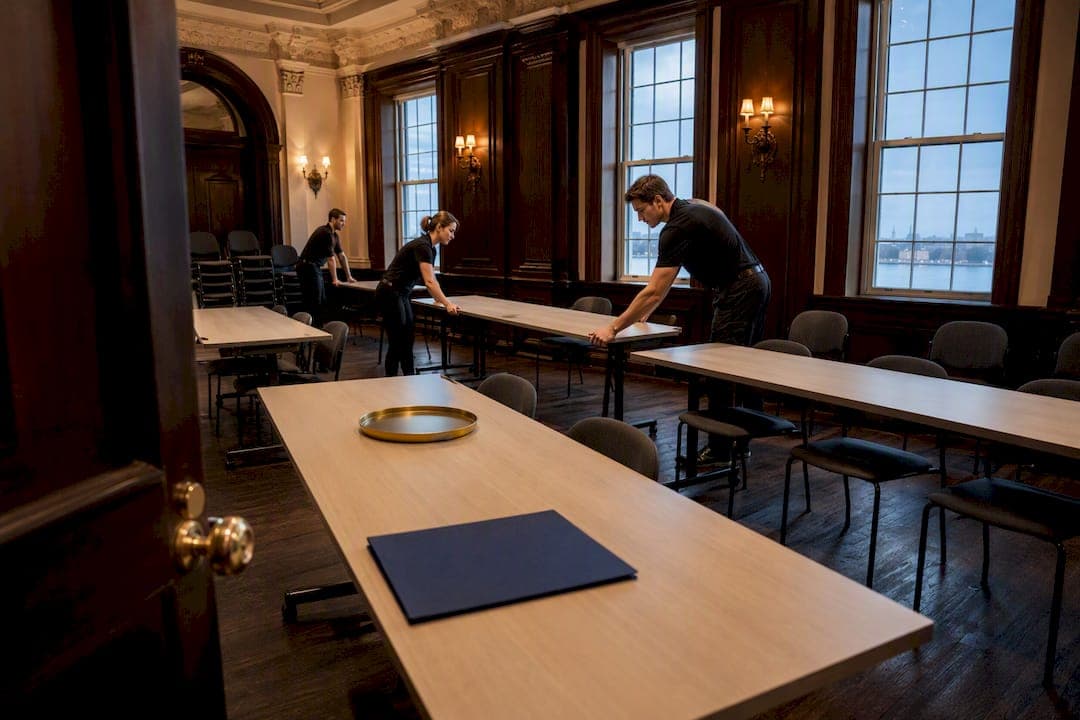
Match one of five standard layouts (theater, classroom, U-shape, cabaret, or clusters) to your session goal first, then fix sightlines, audio, power, and reset speed around it. Operational venues like The Ambassador Club treat reconfiguration speed as seriously as furniture quality, because the room that can't flip modes in 20 minutes limits what kind of training you can run at all.
TL;DR:
- Rooms with flexible layouts require at least 15 to 17 square feet per person to accommodate different configurations and activity levels.
- Typical reset times between room configurations should be 15 to 20 minutes, so schedule buffer time to avoid delays and last-minute rushes.
- For hybrid sessions, use dedicated Wi-Fi networks and test remote-sharing tools and audio-visual equipment thoroughly at least 24 hours in advance.
- Furniture on wheels and laminated templates for instruction and collaboration enable quick, consistent room reconfigurations and reduce setup errors.
- Environments with poor acoustics, lighting, or air quality can significantly diminish learning retention and engagement, so plan HVAC, lighting, and sound early.
Table of Contents
- Training Room Setup Basics: Five Layouts and When to Use Each
- Matching Layout to Session Goals and Room Capacity
- Furniture, Circulation, and Two Reset Templates Worth Keeping
- AV, Lighting, and Acoustics for Learning and Hybrid Participation
- Power, Cabling, and Accessibility Essentials
- Pre-Session Checklist and Testing Procedure
- Why Temperature and Air Quality Affect How Much People Actually Learn
- Wi-Fi, Collaboration Tools, and Hybrid Technology Beyond the Basics
- Ergonomic Seating, Break Areas, and Comfort That Actually Sustains Attention
- Materials and Storage: Keeping Supplies Accessible Without Cluttering the Room
- Room Branding and Aesthetics: Why the Space Itself Signals Professionalism
- Scheduling and Booking: Why Setup Time Is Part of the Real Cost
- Lessons From Venue Operations: What Usually Goes Wrong
- How The Ambassador Club Supports Training-Ready Setups
- Sources
- FAQ
Training Room Setup Basics: Five Layouts and When to Use Each
Every layout trades interaction for capacity. Pick based on what the session actually needs people to do, not what looks impressive on a floor plan.
- Theater: rows facing forward, no tables. Best for lectures and presentations to large groups; weak for note-taking or group work.
- Classroom: rows of tables facing forward. Best for content delivery with note-taking; moderate interaction, easy to scale.
- U-shape: tables in a U, open end facing a presenter or screen. Best for discussion-heavy sessions with 8 to 20 people; strong eye contact, weaker for solo screen work.
- Cabaret (rounds): small round tables angled toward the front. Best for workshops mixing lecture and small-group activity.
- Clusters/pods: four to six person groupings with no shared front. Best for breakout work and simulations; poor for anything needing a single focal point.
Capacity reality check: Theater seating typically supports groups of 50 or more, while classroom-style setups work best from 16 to 40 attendees, according to Falcon's training space design guide. U-shape tops out around 20 before the geometry breaks down and people at the far ends lose the sightline entirely.
Matching Layout to Session Goals and Room Capacity
The layout decision is really a headcount and activity decision wearing a different hat. Falcon's guidance breaks it down cleanly: theater for 50 or more people, classroom for 16 to 40, U-shape for 8 to 20, and clusters or pods for smaller collaborative groups under 30, per Falcon's design guide.
Square footage per person is the number most planners underestimate. A classroom-style setup needs roughly 15 to 17 square feet per participant as a planning baseline, which means a 1,200 square foot room holds 70 to 80 people classroom-style, but only 30 to 40 at team tables, according to Cubicle by Design's setup guide. The gap between those two numbers is the entire reason "how many people fit" has no single answer.
| Layout | Best group size | Interaction level |
|---|---|---|
| Theater | 50+ | Low |
| Classroom | 16 to 40 | Moderate |
| U-shape | 8 to 20 | High |
| Clusters/pods | Under 30 | High |
Before locking anything in, walk the room with a tape measure. Check that the back row can read the screen, that aisles clear 36 inches minimum, and that nobody's chair backs into a wall outlet or fire exit.
Furniture, Circulation, and Two Reset Templates Worth Keeping
Furniture choices only matter if they can move fast. Fixed tables and heavy lecterns look sharp on day one and become a liability the first time you need to flip the room between a lecture block and a workshop block.
Keep two templates on file so staff never improvise a layout from scratch:
- Instruction template: rows of 6-foot tables at 30 inch depth, chairs spaced 24 inches on center, 42 inch aisles between rows for accessibility clearance.
- Collaborative template: 60-inch round or square pod tables seating 4 to 6, positioned with power access at the center of each cluster, minimum 4 feet of clearance on every side for chair pull-back and walk-through traffic.
- Reset routine: stage the next layout's furniture along the walls before the current session ends, move tables first while chairs stack, then redistribute chairs last, since chairs move faster than tables and finish the room.
Storage matters more than most planners budget for. A rolling cart or closet near the room, not down the hall, is what actually gets used between sessions.
Pro Tip: Label your two templates "A" and "B" on a laminated card taped inside a storage closet door. New staff can execute a reset without a supervisor walking them through it.
AV, Lighting, and Acoustics for Learning and Hybrid Participation
Acoustics and lighting decisions need to happen before you buy any AV equipment, because poor room acoustics cannot be fixed by microphones alone, according to AVIXA's conference room design guidance. Retrofitting sound after the fact is expensive and only partially effective.
Display sizing follows a simple rule: viewing distance should run 1.5 to 2.5 times the display's diagonal measurement, per AVIXA. A 75-inch display works for a room roughly 9 to 16 feet deep; anything deeper needs a second screen or a projector.
For microphones and cameras in hybrid sessions, Cisco recommends one room microphone for roughly every 12 participants, plus dual displays and at least two camera angles in medium collaboration rooms, according to Cisco's Webex design guide. Camera placement that captures both the presenter and participant faces, combined with at least one boundary mic, meaningfully improves remote engagement.
- Use layered, tunable LED lighting set to 3,500 to 4,000K for alert lecture periods and 3,000 to 3,500K for reflective or discussion work, based on Cubicle by Design's guidance.
- Kill glare on screens by angling displays away from windows rather than relying on blinds alone.
- Portable acoustic panels solve hard, echoey rooms faster than rearranging furniture ever will.
- Size your screen using the 1 to 6 viewing distance rule before you commit to a display.
Power, Cabling, and Accessibility Essentials
Infrastructure planning happens before furniture arrives, not after. Skipping this step is how you end up with extension cords taped across a walking path on session day.
- Distribute outlets so no table is more than 6 feet from a power source; use in-table power modules or floor boxes for center-of-room clusters.
- Reserve dedicated power and data lines under collaborative tables rather than running shared strips, echoing Cisco's medium-room recommendations.
- Keep aisles at least 36 inches wide and provide wheelchair bays at the end of rows, not squeezed between tables.
- Route AV cabling through floor boxes or overhead drops, never loose across a walkway, and place the AV rack where staff can reach it without crossing the presentation zone.
- Provide an adjustable-height lectern and confirm captioning or transcription support if the session includes remote attendees.
Pre-Session Checklist and Testing Procedure
A room that looks right on paper can still fail on test day. Run this sequence before every session, not just the first one:
- Power on all devices and confirm the projector or display holds focus at full brightness.
- Test every microphone at speaking volume from the farthest seat in the room.
- Verify Wi-Fi bandwidth and confirm at least one BYOD device connects cleanly.
- Walk the room from the back row and each side seat to confirm sightlines to the screen.
- Run a full AV check with an actual remote participant on the call, not just a local echo test, per Cubicle by Design's testing guidance.
Assign one staff member to AV and one to furniture reset, and target a 15 to 20 minute turnaround between layout changes. Cross-check your process against a full AV and signal-flow checklist so nothing gets skipped when the room is booked back-to-back.
Pro Tip: Run the remote-participant AV test the day before a session that includes hybrid attendees, not the morning of. Wi-Fi and mic issues surface faster with 24 hours of slack to fix them.
Why Temperature and Air Quality Affect How Much People Actually Learn
A room that's too warm puts people to sleep by mid-afternoon; a room that's too cold makes them fidget instead of listen. Neither extreme shows up on a floor plan, but both show up in retention.
Target a range around 68 to 72 degrees Fahrenheit for seated training work, and expect to adjust downward for a full room, since body heat from 30 or 40 people raises ambient temperature faster than most organizers expect. Stale air is the quieter problem. A closed room with no fresh air exchange builds up carbon dioxide over a three or four hour session, and rising CO2 levels are linked to slower cognitive processing and reduced attention, which is exactly the opposite of what a training session needs. If the HVAC system can't be adjusted mid-session, crack a door during breaks or run ventilation on a timer between blocks.
Natural light matters more than most AV-focused planners give it credit for. Rooms with windows or daylight-balanced lighting keep energy levels steadier through a full-day session than rooms lit entirely by overhead fluorescents. The tradeoff is glare control. Windows behind a presenter blind the audience to the screen, and windows facing the screen wash it out entirely. Position the screen perpendicular to window walls when possible, and use blinds for a hard trade-off rather than trying to fight glare with brightness alone.
None of this requires a facilities engineer. It requires checking the thermostat and the vents before the room fills up, not after someone complains.
Wi-Fi, Collaboration Tools, and Hybrid Technology Beyond the Basics
AV hardware gets the attention, but the network underneath it is what actually determines whether a hybrid session works. A room with a beautiful display and an overloaded Wi-Fi router will drop calls and freeze screen shares no matter how good the camera is.
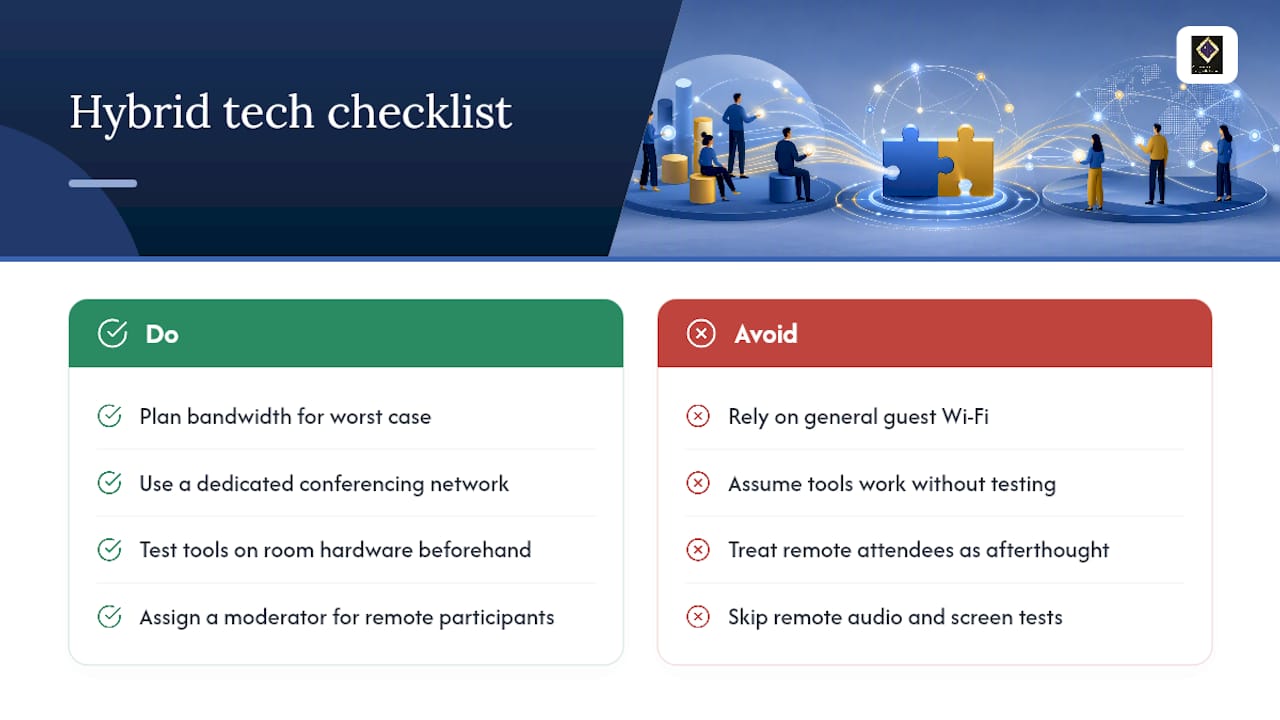
Plan bandwidth for the worst case, not the average case: every laptop, phone, and BYOD device that connects during a session, plus the video call itself, competing for the same signal. A dedicated training-room network, separate from general guest Wi-Fi, prevents a room full of participants from tanking the connection everyone else in the building relies on. If the venue offers a guest network and a dedicated conferencing network, always put the training session on the dedicated one.
Collaboration tools matter beyond video conferencing software itself. Shared digital whiteboards, polling tools, and screen-annotation software all need to be tested on the room's actual hardware before the session, not assumed to work because they worked on a laptop at someone's desk. Screen mirroring protocols vary by device and operating system, and the one time it fails is always in front of a full room.
For hybrid sessions specifically, treat the remote audience as a full participant group, not an afterthought bolted onto an in-person session. That means testing screen share resolution from the remote side, confirming remote attendees can hear in-room questions without someone repeating them into a microphone, and building in a moderator role whose only job is watching the chat and unmuting remote hands. Rooms that skip this step consistently produce hybrid sessions where remote attendees quietly disengage by the halfway mark.
Ergonomic Seating, Break Areas, and Comfort That Actually Sustains Attention
Chairs get chosen last and complained about first. A folding chair works fine for a 90 minute presentation; it becomes a real problem somewhere around hour three, and by a full-day session it's actively working against retention.
Look for chairs with adjustable height and at least minimal lumbar support for any session running longer than half a day. Task chairs with wheels are ideal for collaborative pod work, since participants need to turn and shift between screen time and group discussion. Fixed theater-style seating is fine for shorter, lecture-only formats where nobody needs to swivel toward a neighbor.
Break areas deserve their own square footage, not a hallway. A separate space for coffee, water, and informal conversation keeps break-time chatter from bleeding into the next session's setup time, and it gives trainers a place to reset mentally between blocks. Position the break area far enough from the training room that conversation noise doesn't carry through a shared wall, but close enough that a 15-minute break doesn't turn into a 20-minute walk.
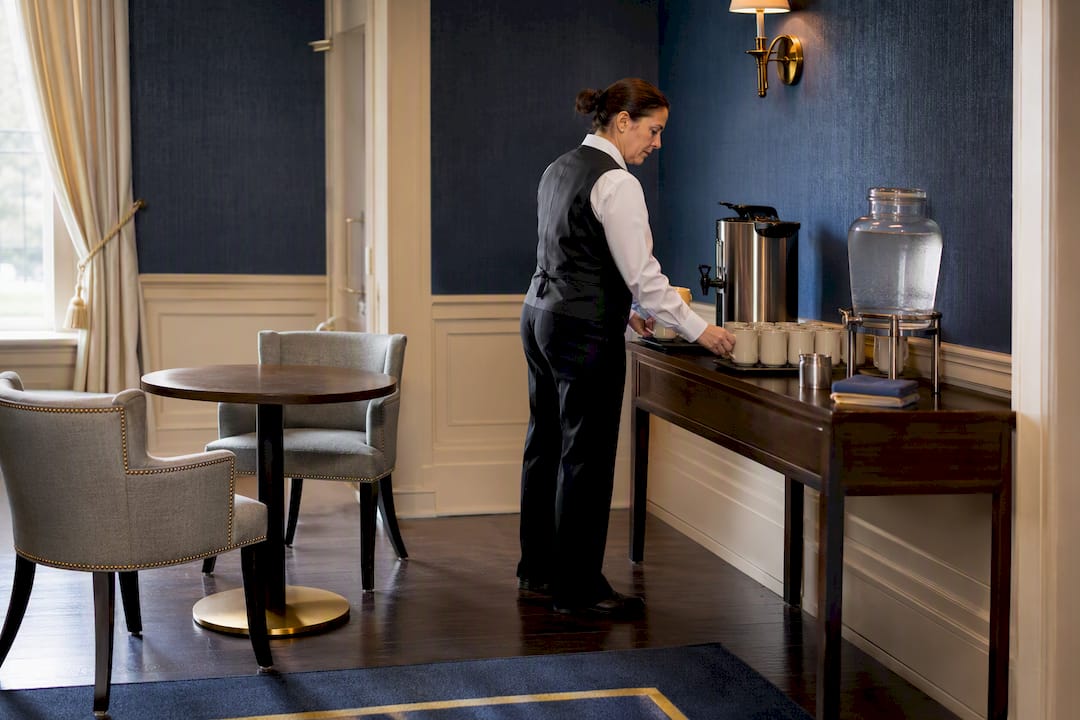
Amenities that seem minor add up over a full day: accessible restrooms within a short walk, water available without leaving the room, and enough outlets near the break area for people to charge phones and laptops during downtime. None of these show up in a floor plan review, but they show up in post-session feedback every time they're missing. A trainer who's comfortable and not fighting a bad chair or a room that's too warm delivers a noticeably better session than one who is.
Materials and Storage: Keeping Supplies Accessible Without Cluttering the Room
Handouts, name tags, markers, and workbooks need a home that isn't a cardboard box under the AV table. A dedicated storage closet or rolling cart near the entrance lets staff restock materials between sessions without disrupting the room layout mid-event.
Secure storage matters for anything valuable or sensitive left in the room overnight, laptops, branded materials, or proprietary training content among them. A lockable closet or cabinet inside the room, rather than materials left visible on tables, protects against both theft and the simple problem of materials getting reshuffled by cleaning staff before the next session.
Staging matters as much as storage. Materials for the next session should be pre-sorted and ready to distribute before attendees arrive, not assembled while people are already finding their seats. For multi-day trainings, a simple labeling system, one bin per day or per module, keeps facilitators from digging through a single overflowing box looking for day three's handouts on day three.
Room Branding and Aesthetics: Why the Space Itself Signals Professionalism
A room that looks unfinished undermines credibility before the first slide loads. Bare walls, mismatched furniture, and visible cable clutter tell participants the session wasn't planned with much care, even if the content is excellent.
Branding doesn't require a full renovation. A pull-up banner, a branded slide on the welcome screen, or consistent signage directing people to the room all reinforce that the event was organized deliberately. For corporate training, this matters even more when clients or new hires are in the room and forming an impression of the organization, not just absorbing the material.
Aesthetic choices also affect engagement in subtler ways. A room with visual clutter, exposed cables, mismatched chairs, stacked boxes in the corner, gives participants more to visually process and less reason to stay focused on the front of the room. Clean sightlines aren't just functional, they're psychological. A tidy, intentional-looking space signals that the session is worth paying attention to.
Scheduling and Booking: Why Setup Time Is Part of the Real Cost
The layout you choose determines how long the room needs before and after your session, and that turnaround time is often the part organizers forget to book. A theater-to-cluster reset takes longer than most people estimate, especially if the previous group left furniture in a different configuration than expected.
When booking a space, build in a buffer beyond the session's actual start and end time. If your reset routine targets 15 to 20 minutes, book at least 30 to account for the unpredictable, a late-arriving cleaning crew, or a AV issue discovered five minutes before doors open. Back-to-back bookings with zero gap between them are the single most common reason training sessions start late.
Confirm with the venue exactly what setup is included in the rental window versus what counts as extra time. Some venues include setup and teardown in the booking; others charge separately or expect the renting group to handle it within the same window. Asking this question during booking, not on session day, avoids a surprise fee or a rushed setup that skips the AV test entirely.
Lessons From Venue Operations: What Usually Goes Wrong
The two most common failures aren't AV crashes. They're underestimating reset time between layouts and treating storage as an afterthought, so materials end up staged in the hallway instead of a closet. Rooms with a laminated reset template and a tested AV checklist consistently run smoother than rooms improvising both on the fly.
— MARTIN
How The Ambassador Club Supports Training-Ready Setups
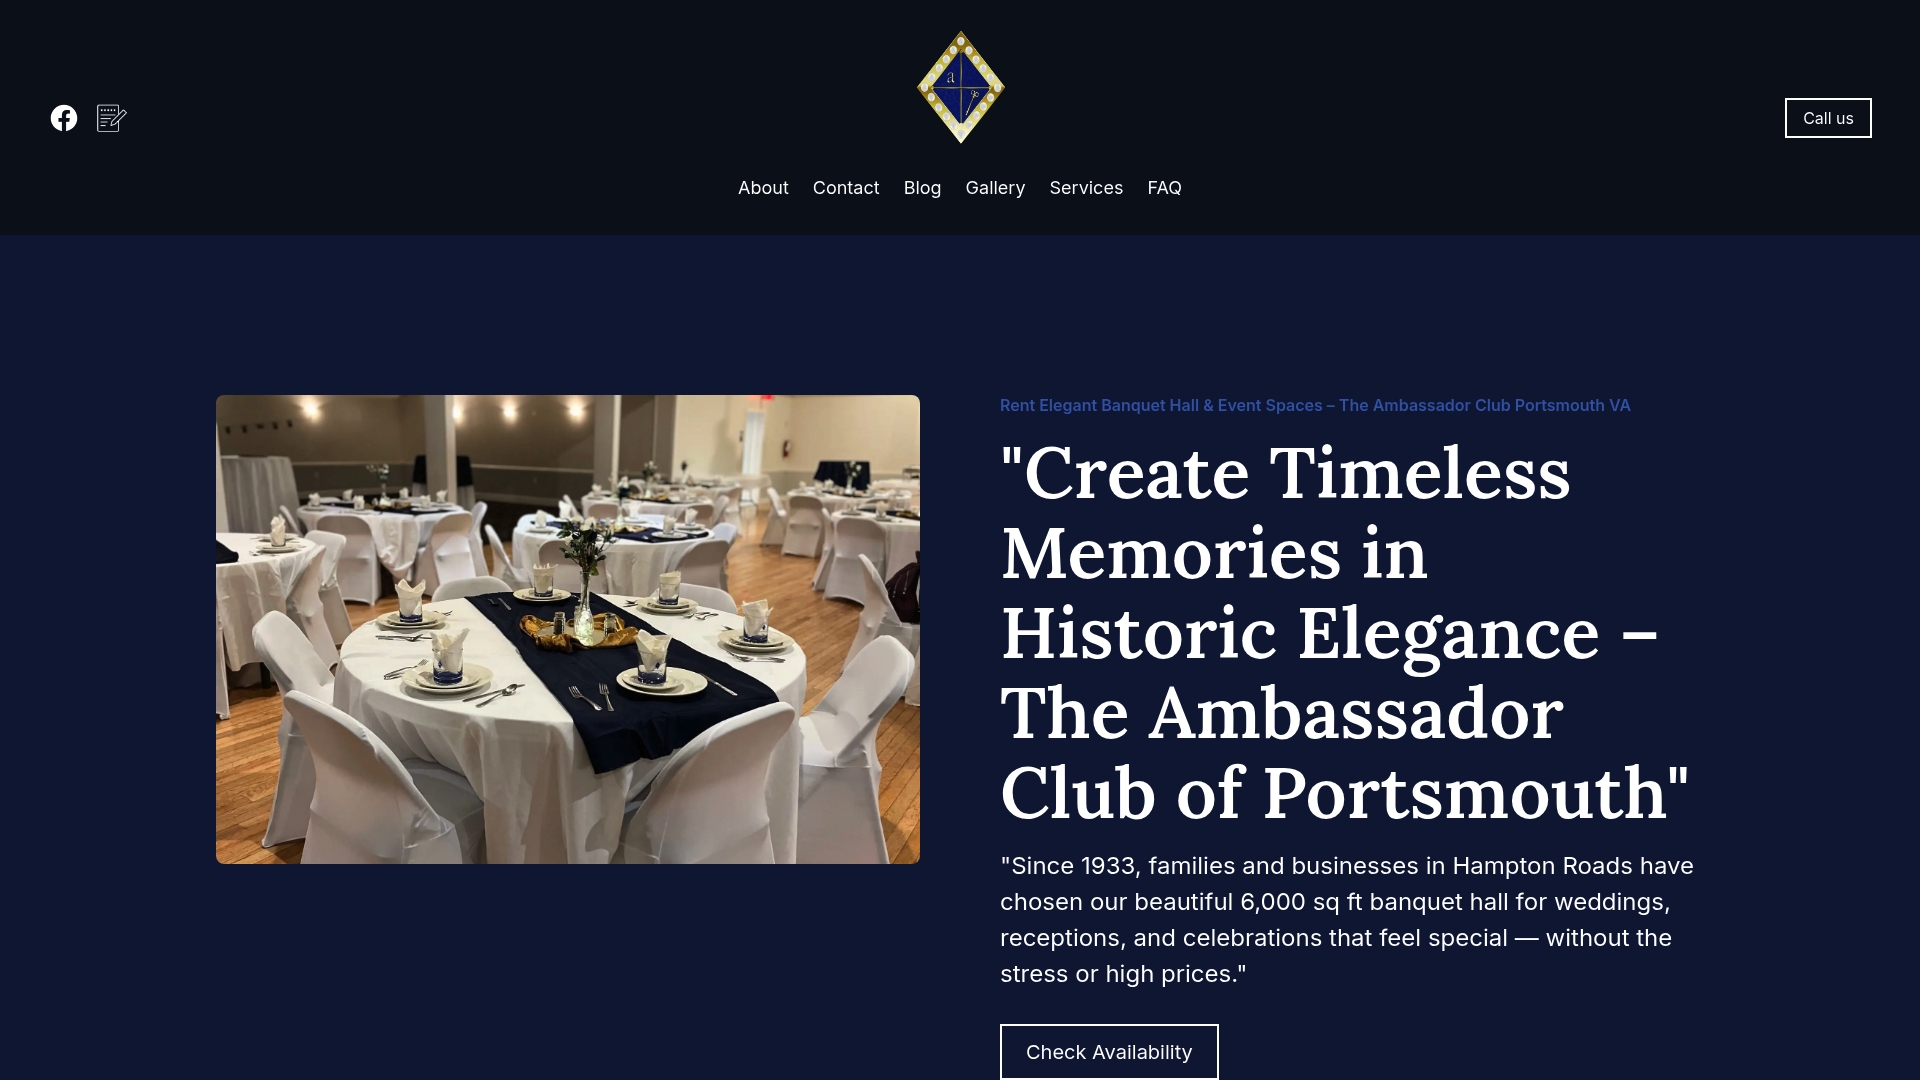
Planning a training session in Hampton Roads means dealing with the same layout, AV, and reset questions covered above, and a venue that already runs on tested checklists removes a lot of that guesswork before you even arrive. The Ambassador Club's 6,000 square foot hall accommodates configurable seating arrangements for groups up to 200, along with a full commercial kitchen for catered breaks and a built-in projector and large projection wall for the AV side of the equation.
Flexible catering options are available, and packages covering setup, cleaning, and security can take the logistics off your plate so your team can focus on the actual training content instead of furniture and cable runs. If you're weighing venue options against a corporate conference room, the AV checklist for signal flow and venue handoff shows what a well-run walkthrough looks like before you book anywhere. For larger sessions that need arrival coordination or printed materials, Caymil Printing's valet and hospitality solutions cover the logistics side well.
Request a site walk-through through Ambassadorclubportsmouth to see the space and talk through your layout before you commit to a date.
Sources
- Falcon — Design an effective training space
- AVIXA — Conference room design
- Cisco — Webex design guide, medium collaboration room
- Cubicle by Design — Training room setup
FAQ
What Should Be in a Training Room?
A well-equipped training room needs a display sized to the room's viewing distance, working microphones for groups over roughly 12 people, adjustable lighting, reliable power access at every table, and enough clear aisle space for accessibility and quick reconfiguration.
What Are the Best Layouts for Training Rooms?
Theater suits lecture-style sessions of 50 or more, classroom works for 16 to 40 attendees who need to take notes, U-shape fits 8 to 20 people in discussion-heavy formats, and clusters or pods work best for breakout and workshop activities.
How Should a Training Room Be Arranged?
Arrange the room based on the session's primary activity: rows for one-way instruction, a U-shape for discussion, or clustered tables for group work, then verify sightlines and confirm every seat has power access nearby.
What Is the Typical Size of a Training Room Desk?
Standard training tables run about 6 feet long and 30 inches deep for classroom rows, while round or square collaborative pod tables typically run 60 inches to comfortably seat 4 to 6 people.
How Much Space Does Each Person Need in a Training Room?
Plan for roughly 15 to 17 square feet per participant in a classroom-style layout, though collaborative table setups require more space per person than tightly packed rows.